
Welcome to the first blog of Spring 2018!
With the clocks going forward and the evenings getting lighter, we are still waiting patiently and hoping (with fingers crossed!) that we will eventually get some good weather coming our way…
In the meantime, to go with our fabulous new spring outfits we have at the ready (you have read last months blog, right?), this months blog is about sorting out our manicures, and more specifically how to safely remove gel polish without wrecking our nails! After all, we want great looking hands and nails to compliment our overall look!!

Gel Polish Manicure
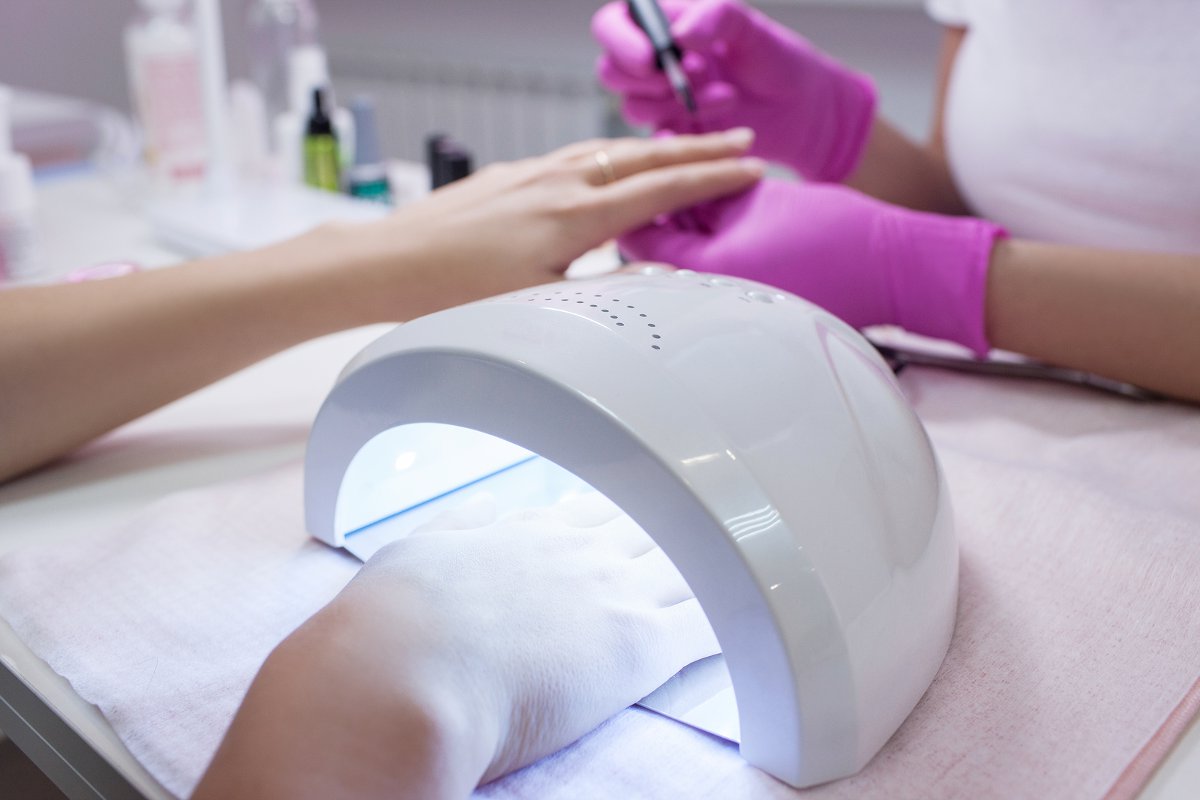
UV Gel Polish manicures have been super popular over the last couple of years, however, more and more people are becoming increasingly conscious about the chemicals they put on and in their bodies and are moving away from such chemical laden products to something less toxic…. Like our very own lovely non-toxic nail polish! 😉
As well as the chemicals in the gel formula itself, there’s been concern expressed for years about the UV exposure from the curing lamps with the gel polish systems and although technology has improved in recent years, the newer LED lamps actually have to deliver higher intensity UVA wavelengths to achieve the quicker gel curing and hardening times. Some experts even go so far as to recommend wearing fingertipless gloves during the manicure or applying sunscreen 15 minutes prior to lamp use.
So if you’ve decided to make the switch back to having a traditional manicure and want to remove your gel polish, today’s blog shows you how to do it safely at home – without damaging your nails and in five simple steps.
Let’s face it can also be really expensive to visit a salon every fortnight and maintain a gel manicure!
Oh and we also have exciting news about some new shades we’ve added to our range for Spring…. so here we go!
First of all – do not try to peel the gel off! We know it’s super tempting, but it can really damage your nails.
What you’ll need to remove it safely:
- A Nail file
- 100% acetone (usually in shops with false nails)
- Kitchen foil
- Scissors and a small bowl
- 5 Cotton wool pads
- Orange/cuticle stick
- Cuticle oil
- Hand cream
The 5 easy steps:
1. Mattify
Start by gently filing over the top of the nail to ‘break the seal’ of the gel top coat.
This makes it easier for the acetone to soak through the layers of gel polish.
Tip: Once you’ve broken the seal of the top coat it will give your nails a matte effect without losing any colour. If you’re starting to lose the colour, you’re filing too far down and need to stop or you will damage your natural nail underneath.
2. Prepare Some Nail Wraps
Using your scissors, cut your kitchen foil into rectangles, just big enough to cover the tips of your fingers and curl around your finger to secure them into place.
Next, cut 5 cotton wool pads in halves or quarter’s depending on which you prefer – you will want the cotton wool to cover the entire surface of your nail.
3. SOAK
Pour some acetone into your bowl and one by one, soak the cotton wool pad pieces in it, then place it on the top of your nail making sure it covers the entire surface.
Tip: Try to avoid having a load of excess cotton wool draping over onto the skin of your fingers as we prefer to avoid having lots of the acetone directly on our skin.
Next, use a piece of foil to secure the cotton wool on your nail by wrapping it around your finger.
Once you have all your fingers covered set a timer and leave them to soak for 15 minutes.
4. Pushing the Polish.
Starting with the nail you covered up first, gently slide off the foil and cotton pad.
You should now see all or most of your coloured polish has flaked off and sitting on top of your nail.
Take your orange/cuticle stick and very gently push the flaky polish off your nail, starting at the cuticle and pushing right down to the tips.
Tip: Do not scrape your natural nail. The polish should have dissolved and be soft enough that it’s easy to push off. If it isn’t? Repeat step 3 and wait another 5 minutes. Keep repeating this until it very easily slides off your nail.
5. Replenish!
You should now be left with a clean surface on all your nails.
You will notice that the skin on your fingertips looks white and scaly – don’t panic, this is just dehydration caused by the acetone. It’s time to moisturise!
Apply a generous amount of cuticle oil to your cuticles, the nail plate and even onto your skin if you like.
Massage the oil in and if your skin drinks it straight up, apply some more.
This well help rejuvenate your nails and skin, putting all the moisture back in that has been lost due to the acetone.
You might also notice that your nails are soft and bendy as this often happens after people have been wearing gel polish or extensions, where their natural nail has been covered.
They will harden back up with time but it’s really helpful if you have a nail treatment to apply at this point to give them some extra love.
Finally, finish off by applying some hand cream to your skin and you are done! For further tips on hand and nail care check out our 23 Tips For Beautiful Hands And Nails blog.
Nail News!
As mentioned, we have some exciting new shades on their way for you.
With spring/summer comes festival session and what better way to get in the mood than to to wear some brightly coloured polish to really get the party started!


Our new collection of neon and super bright shades called The Festival Paint Box launches today – 8 beautiful, bright and fun Spring colours. Let’s start painting the town (well our nails) red, orange, yellow, green, turquoise, blue, purple and pink!
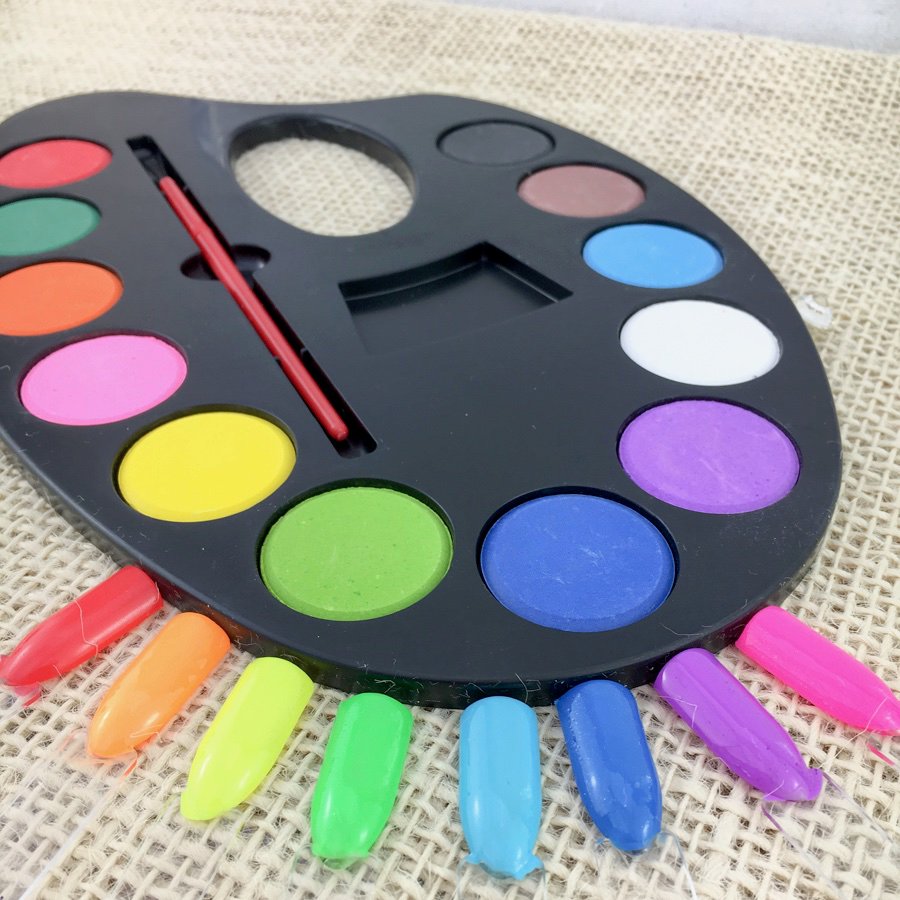
So check out Love, Carnival, Harmony, Euphoria, Laughter, Free Spirit, Peace and Psychedelic. They are perfect for the spring/summer and of course nail art and water marbling too!

They’re currently being swatched so keep an eye on our Instagram page for more photos of these beauties!
Showgirl
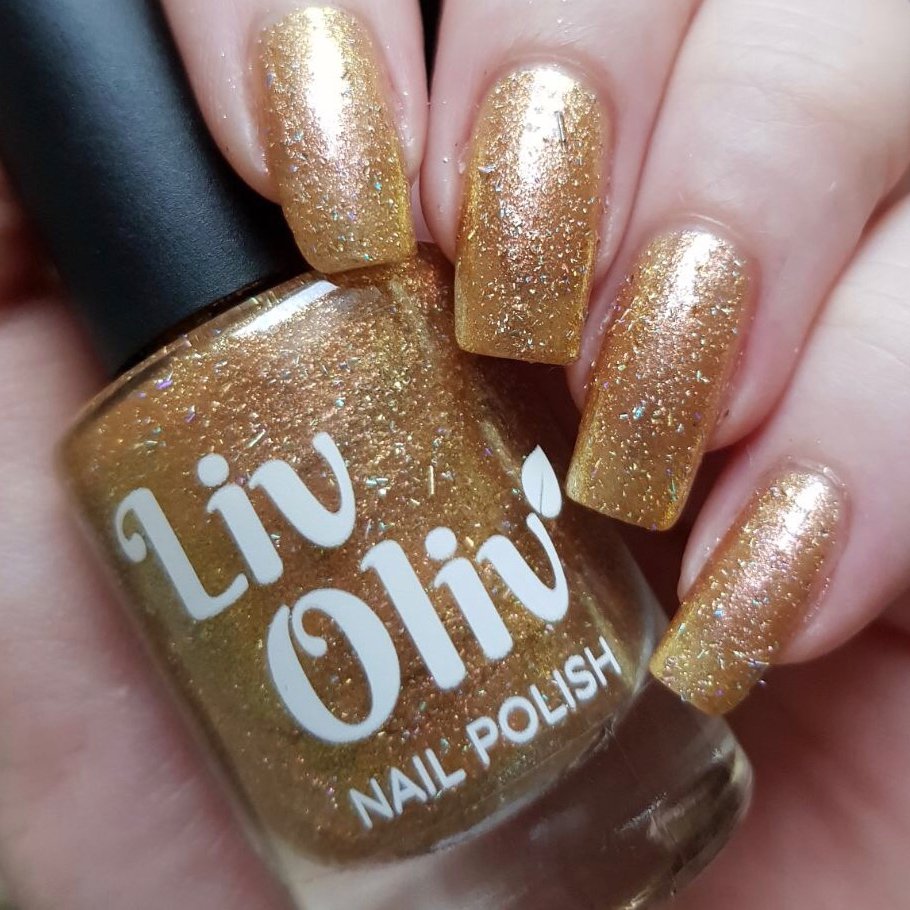
NOW A PERMANENT SHADE – ‘Showgirl’ is now available to buy online. She was originally a Limited Edition polish for our indie box collaboration, but she was too beautiful to say goodbye to!
She’s a Rose Gold shade with pink and green shimmers, plus heaps of holographic flakes. A stunning colour that glitters away in the sunshine – when we actually get some?!
And finally…
We are going to be at the Woking Vegan Festival on 19th May. If you are in the area, why not come along and check out our full range of products, and join in the fun??
The new additions to our polish range won’t stop with the Festival Paint Box – we’re currently testing out 2 other beautiful new collections which will be released in the next couple of months, so as always, if there’s a particular colour you would like to see, please do get in touch as we always love your feedback.
So that’s it for this month. In next month’s blog we’ll be sharing our favourite picks from all the great new cruelty free make-up that has recently been released … to help you look and feel fabulous in that Spring sunshine.
We hope you have a fabulous Easter holiday and most importantly, Liv…Happily!
The LivOliv Team x